Please use the relevant driver installation section.
Linux Driver Installation
This section describes how to install and test the MLNX_OFED for Linux package on a single server with a ConnectX-4 adapter card installed.
Prerequisites
|
Requirements |
Description |
|---|---|
|
Platforms |
A server platform with one ConnectX®-4 (EN) (firmware: fw-ConnectX4) |
|
Required Disk Space for Installation |
1GB |
|
Operating System |
Linux operating system.
|
|
Installer Privileges |
The installation requires administrator (root) privileges on the target machine. |
Downloading MLNX_OFED
-
Verify that the system has a network adapter installed.
The following example shows a system with an installed adapter card:# lspci -v | grep Mellanox 86:00.0 Network controller [0207]: Mellanox Technologies MT27620 Family Subsystem: Mellanox Technologies Device 0014 86:00.1 Network controller [0207]: Mellanox Technologies MT27620 Family Subsystem: Mellanox Technologies Device 0014For Linux driver installation, please refer to NVIDIA DOCA Installation Guide for Linux.
Windows Driver Installation
For Windows, download and install the latest WinOF-2 for Windows software package available via the NVIDIA website at: WinOF-2 webpage. Follow the installation instructions included in the download package (also available from the download page).
The snapshots in the following sections are presented for illustration purposes only. The installation interface may slightly vary, depending on the operating system in use.
Software Requirements
For the full list of supported operating systems, please refer to the WinOF-2 Documentation -> Release Notes.
Downloading WinOF-2 Driver
![]()
-
Obtain the machine architecture.To go to the Start menu, position your mouse in the bottom-right corner of the Remote Desktop of your screen.Open a CMD console (Click Task Manager-->File --> Run new task and enter CMD).Enter the following command. echo %PROCESSOR_ARCHITECTURE% On an x64 (64-bit) machine, the output will be “AMD64”.
-
Go to the WinOF-2 web page at: https://www.nvidia.com/en-us/networking/ > Products > Software > InfiniBand Drivers (Learn More) > Nvidia WinOF-2.
-
Download the .exe image according to the architecture of your machine (see Step 1).
The name of the .exe is in the following format: MLNX_WinOF2-<version>_<arch>.exe.Installing the incorrect .exe file is prohibited. If you do so, an error message will be displayed.
For example, if you install a 64-bit .exe on a 32-bit machine, the wizard will display the following (or a similar) error message: “The installation package is not supported by this processor type. Contact your vendor”
Installing WinOF-2 Driver
The snapshots in the following sections are for illustration purposes only. The installation interface may slightly vary, depending on the used operating system.
This section provides instructions for two types of installation procedures, and both require administrator privileges:
-
Attended Installation
An installation procedure that requires frequent user intervention. -
Unattended Installation
An automated installation procedure that requires no user intervention.
Attended Installation
The following is an example of an installation session.
-
Double click the .exe and follow the GUI instructions to install MLNX_WinOF2.
-
[Optional] Manually configure your setup to contain the logs option (replace “LogFile” with the relevant directory).
MLNX_WinOF2_<revision_version>_All_Arch.exe /v"/l*vx [LogFile]" -
[Optional] If you do not want to upgrade your firmware version (i.e., MT_SKIPFWUPGRD default value is False).
MLNX_WinOF2_<revision_version>_All_Arch.exe /v" MT_SKIPFWUPGRD=1" -
[Optional] If you do not want to install the Rshim driver, run.
MLNX_WinOF2_<revision_version>_All_Arch.exe /v" MT_DISABLE_RSHIM_INSTALL=1"The Rshim driver installanion will fail if a prior Rshim driver is already installed. The following fail message will be displayed in the log:
"ERROR!!! Installation failed due to following errors: MlxRshim drivers installation disabled and MlxRshim drivers Installed, Please remove the following oem inf files from driver store: <oem inf list>"
-
[Optional] If you want to skip the check for unsupported devices, run.
MLNX_WinOF2_<revision_version>_All_Arch.exe /v" SKIPUNSUPPORTEDDEVCHECK=1" -
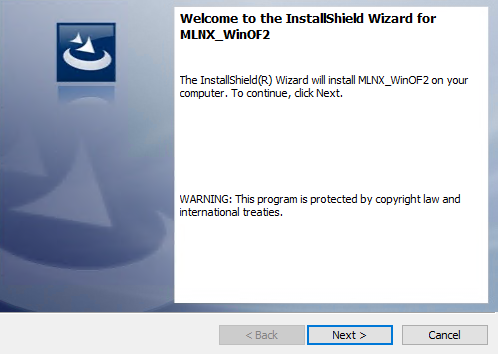
Click Next in the Welcome screen.
-
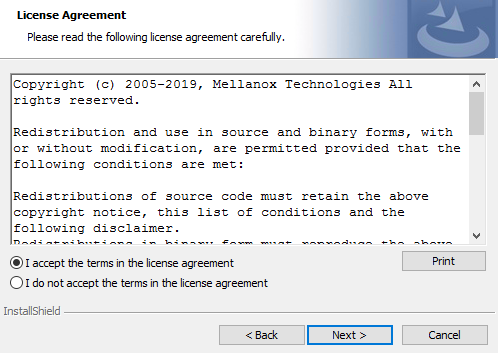
Read and accept the license agreement and click Next.
-
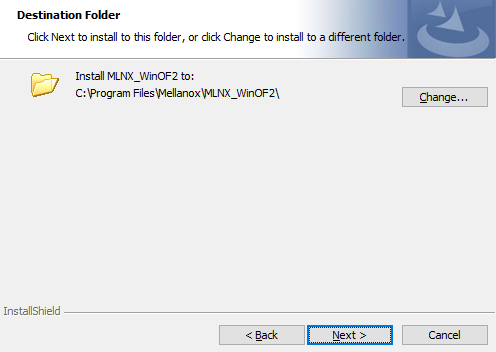
Select the target folder for the installation.
-
The firmware upgrade screen will be displayed in the following cases:If the user has an OEM card. In this case, the firmware will not be displayed.If the user has a standard NVIDIA® card with an older firmware version, the firmware will be updated accordingly. However, if the user has both an OEM card and a NVIDIA® card, only the NVIDIA® card will be updated.
-
Select a Complete or Custom installation, follow Step a onward.

Select the desired feature to install:Performances tools - install the performance tools that are used to measure performance in user environmentDocumentation - contains the User Manual and Release NotesManagement tools - installation tools used for management, such as mlxstatDiagnostic Tools - installation tools used for diagnostics, such as mlx5cmdClick Next to install the desired tools. -
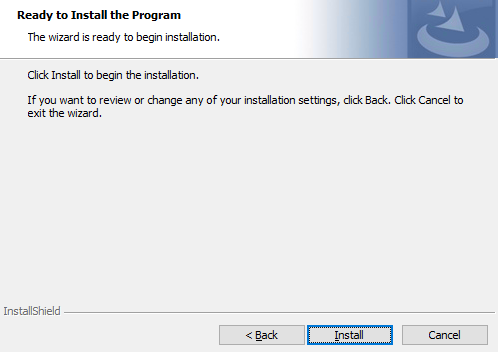
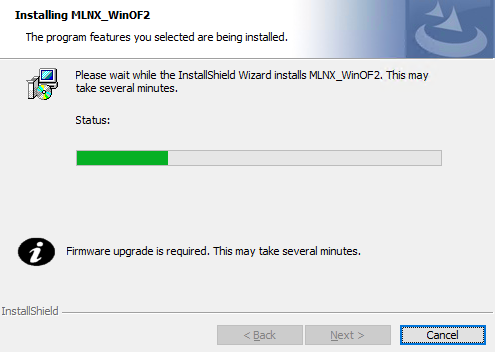
Click Install to start the installation.
-
In case firmware upgrade option was checked in Step 7, you will be notified if a firmware upgrade is required (see

-
Click Finish to complete the installation.

Unattended Installation
If no reboot options are specified, the installer restarts the computer whenever necessary without displaying any prompt or warning to the user.
To control the reboots, use the /norestart or /forcerestart standard command-line options.
The following is an example of an unattended installation session.
-
Open a CMD console-> Click Start-> Task Manager File-> Run new task-> and enter CMD.
-
Install the driver. Run:
MLNX_WinOF2-[Driver/Version]_<revision_version>_All_-Arch.exe /S /v/qn -
[Optional] Manually configure your setup to contain the logs option:
MLNX_WinOF2-[Driver/Version]_<revision_version>_All_-Arch.exe /S /v/qn /v”/l*vx [LogFile]" -
[Optional] if you wish to control whether to install ND provider or not (i.e., MT_NDPROPERTY default value is True).
MLNX_WinOF2-[Driver/Version]_<revision_version>_All_Arch.exe /vMT_NDPROPERTY=1 -
[Optional] If you do not wish to upgrade your firmware version (i.e.,MT_SKIPFWUPGRD default value is False).
MLNX_WinOF2-[Driver/Version]_<revision_version>_All_Arch.exe /vMT_SKIPFWUPGRD=1 -
[Optional] If you do not want to install the Rshim driver, run.
MLNX_WinOF2_<revision_version>_All_Arch.exe /v" MT_DISABLE_RSHIM_INSTALL=1"The Rshim driver installanion will fail if a prior Rshim driver is already installed. The following fail message will be displayed in the log:
"ERROR!!! Installation failed due to following errors: MlxRshim drivers installation disabled and MlxRshim drivers Installed, Please remove the following oem inf files from driver store: <oem inf list>"
-
[Optional] If you want to enable the default configuration for Rivermax, run.
MLNX_WinOF2_<revision_version>_All_Arch.exe /v"MT_RIVERMAX=1 /l*vx C:\Users\<user>\log.txt " -
[Optional] If you want to skip the check for unsupported devices, run/
MLNX_WinOF2_<revision_version>_All_Arch.exe /v" SKIPUNSUPPORTEDDEVCHECK=1"
Firmware Upgrade
If the machine has a standard NVIDIA® card with an older firmware version, the firmware will be automatically updated as part of the NVIDIA® WinOF-2 package installation. For information on how to upgrade firmware manually, please refer to MFT User Manual.
If the machine has a DDA (pass through) facility, firmware update is supported only in the Host. Therefore, to update the firmware, the following must be performed:
-
Return the network adapters to the Host.
-
Update the firmware according to the steps in the MFT User Manual.
-
Attach the adapters back to VM with the DDA tools.
VMware Driver Installation
This section describes VMware Driver Installation.
Hardware and Software Requirements
|
Requirement |
Description |
|---|---|
|
Platforms |
A server platform with an adapter card based on ConnectX®-4 Lx (EN) (firmware: fw-ConnectX4Lx) |
|
Operating System |
ESXi 6.5 |
|
Installer Privileges |
The installation requires administrator privileges on the target machine. |
Installing NATIVE ESXi Driver for VMware vSphere
Please uninstall all previous driver packages prior to installing the new version.
To install the driver:
-
Log into the ESXi server with root permissions.
-
Install the driver.
#> esxcli software vib install –d <path>/<bundle_file>Example:
#> esxcli software vib install -d /tmp/MLNX-NATIVE-ESX-ConnectX-4-5_4.16.8.8-10EM-650.0.0.4240417.zipesxcli -
Reboot the machine.
-
Verify the driver was installed successfully.
esxcli software vib list | grep nmlx
nmlx5-core      4.16.8.8-1OEM.650.0.0.4240417    MEL    PartnerSupported 2017-01-31
nmlx5-rdma      4.16.8.8-1OEM.650.0.0.4240417    MEL    PartnerSupported 2017-01-31
After the installation process, all kernel modules are loaded automatically upon boot.
Removing Earlier NVIDIA Drivers
Please unload the previously installed drivers before removing them.
To remove all the drivers:
-
Log into the ESXi server with root permissions.
-
List all the existing NATIVE ESXi driver modules. (See Step 4 in Installing NATIVE ESXi Driver for VMware vSphere.)
-
Remove each module:
#> esxcli software vib remove -n nmlx5-rdma
#> esxcli software vib remove -n nmlx5-core
To remove the modules, you must run the command in the same order as shown in the example above.
-
Reboot the server.
Firmware Programming
-
Download the VMware bootable binary images v4.6.0 from the Firmware Tools (MFT) site.ESXi 6.5 File: mft-4.6.0.48-10EM-650.0.0.4598673.x86_64.vibMD5SUM: 0804cffe30913a7b4017445a0f0adbe1
-
Install the image according to the steps described in the MFT User Manual.
The following procedure requires custom boot image downloading, mounting and booting from a USB device.
Last updated: