

Introduction
This document describes the guidelines for inspection, cleaning, and replacement of the External Laser Source (ELS) modules and ELSFP connectors during debug or replacement procedures for the SN6810-LD systems.
For Engineering Sample (ES) hardware, field replacement of the ELS is restricted to certified NVIDIA Support engineering staff only. Do not attempt self-service replacement on ES hardware.
Required Equipment and Tools
|
Part Number |
Description |
Illustration |
|
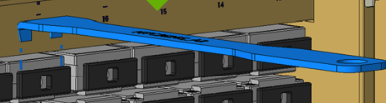
MTCJ6245 |
ELS module Extraction Tool |
|
|
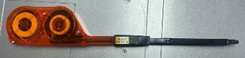
SCK-SS-ELSFP-03-BODY |
ELSFP Cleaner for Fiber Optic Connectors (Detachable Head) |
|
|
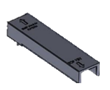
SCK-SS-ELSFP-GUIDE-M-03-P02 |
ELSFP Guide for ELS Module |
|
|
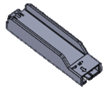
SCK-SS-ELSFP-GUIDE-C-03-P02 |
ELSFP Guide for ELS Cage |
|
The Cleaning kit is available from NVIDIA, see spare parts chapter for more information.
ELS Module Replacement Instructions
Disassembly
-
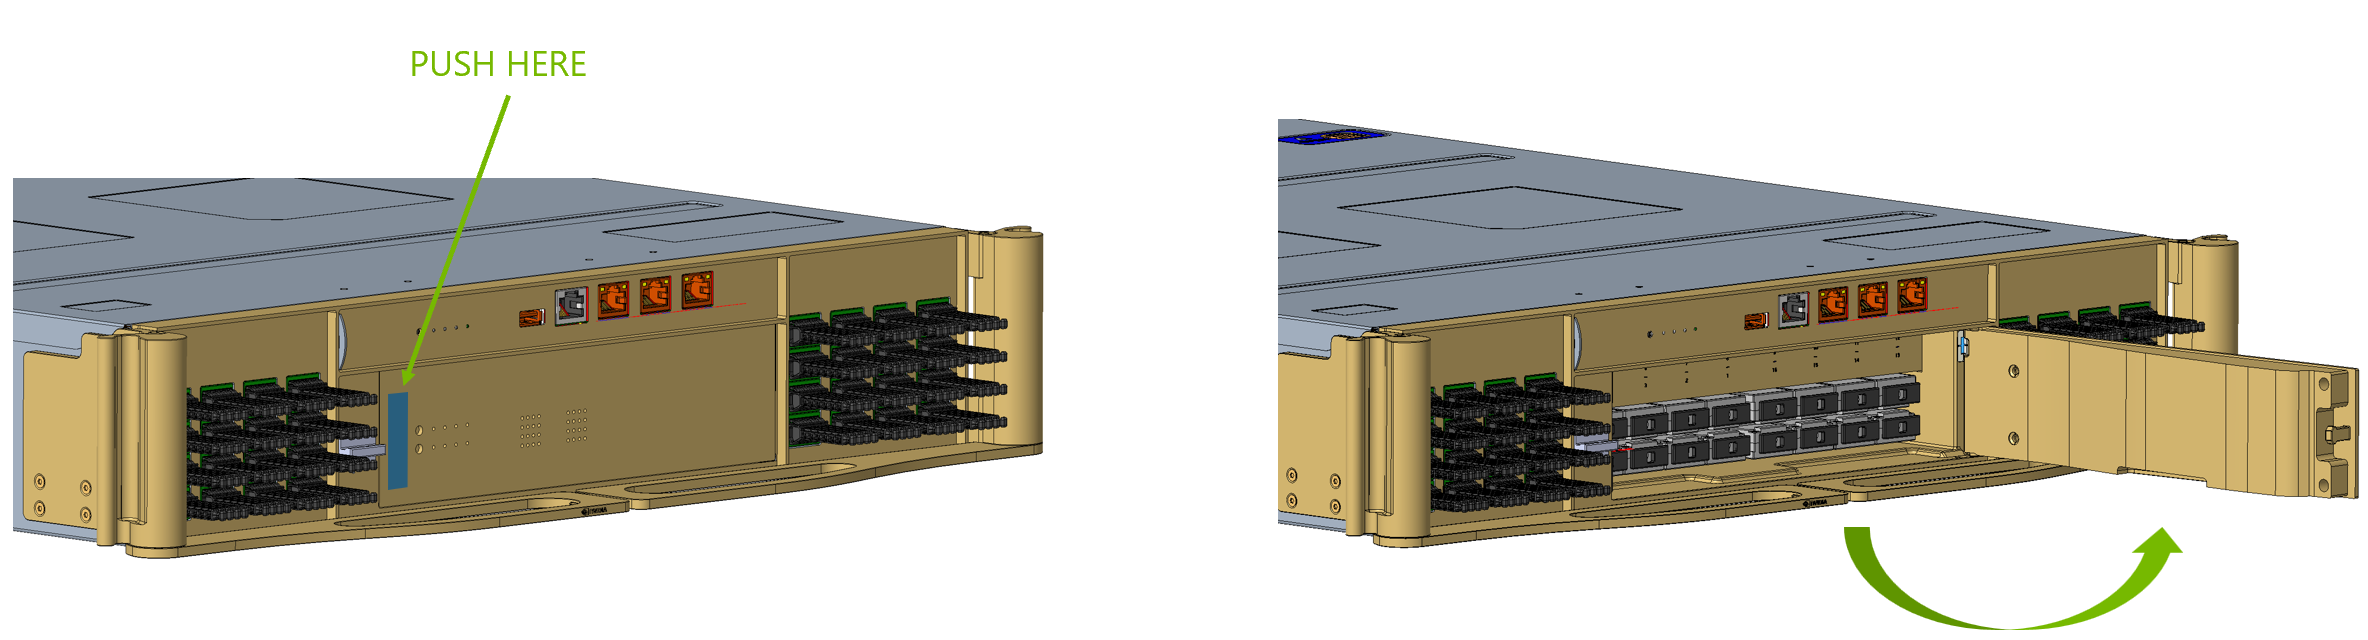
Press the highlighted area to open the access door.
-
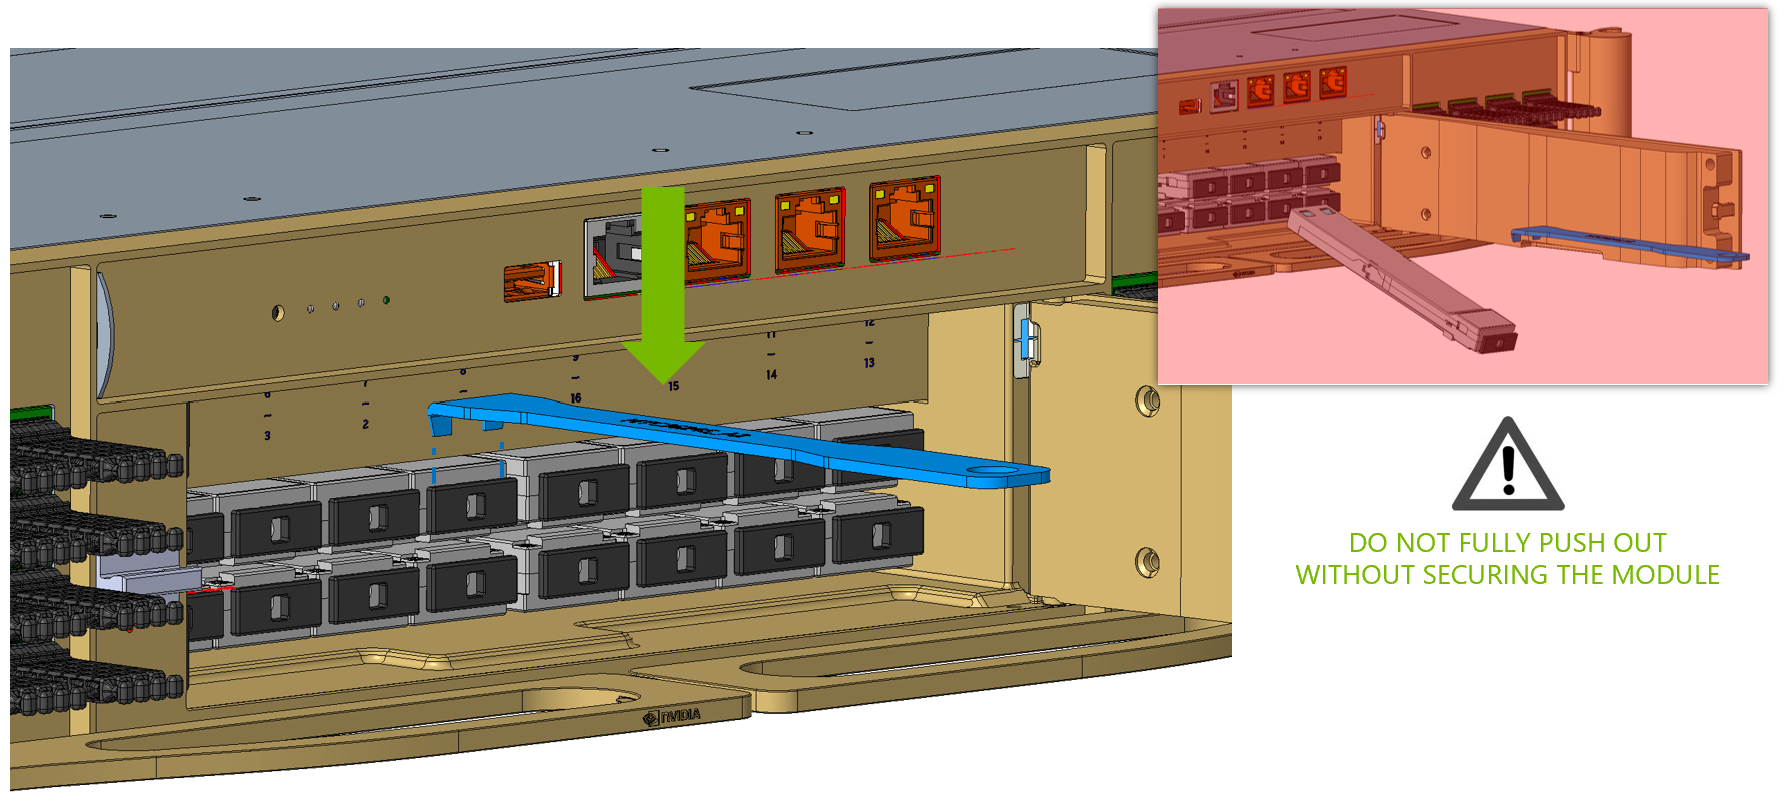
Install the extraction jig (MTCJ6245) onto the ELS module.
Module Removal
-
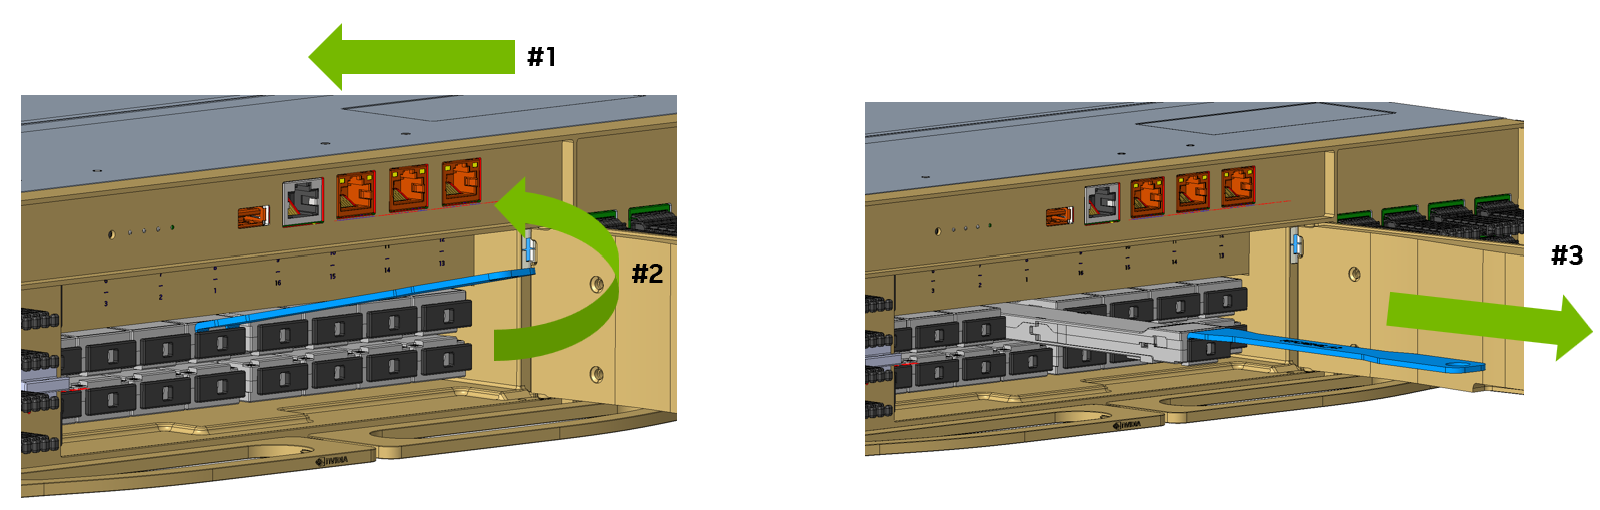
Gently push the ELS module inward.
-
While maintaining inward pressure, slightly lift the extraction jig to release the latch.
-
Carefully pull the ELS module completely out of the cage.
-
Install the dust cover on the removed ELS module.
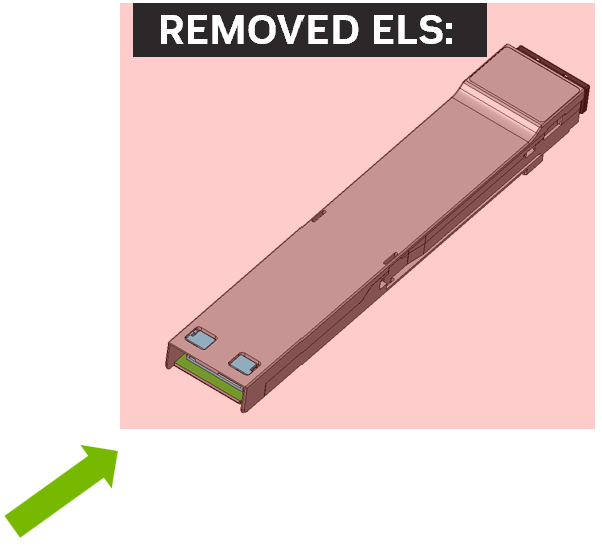
Do not leave a running system unplugged from the ELS module for longer than 30 minutes.
New ELS Module Assembly
Remove the dust cover from the replacement ELS module.
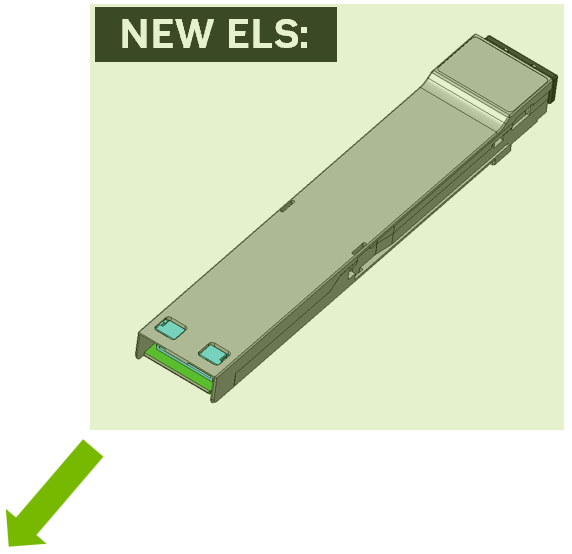
New ELS Module Cleaning
-
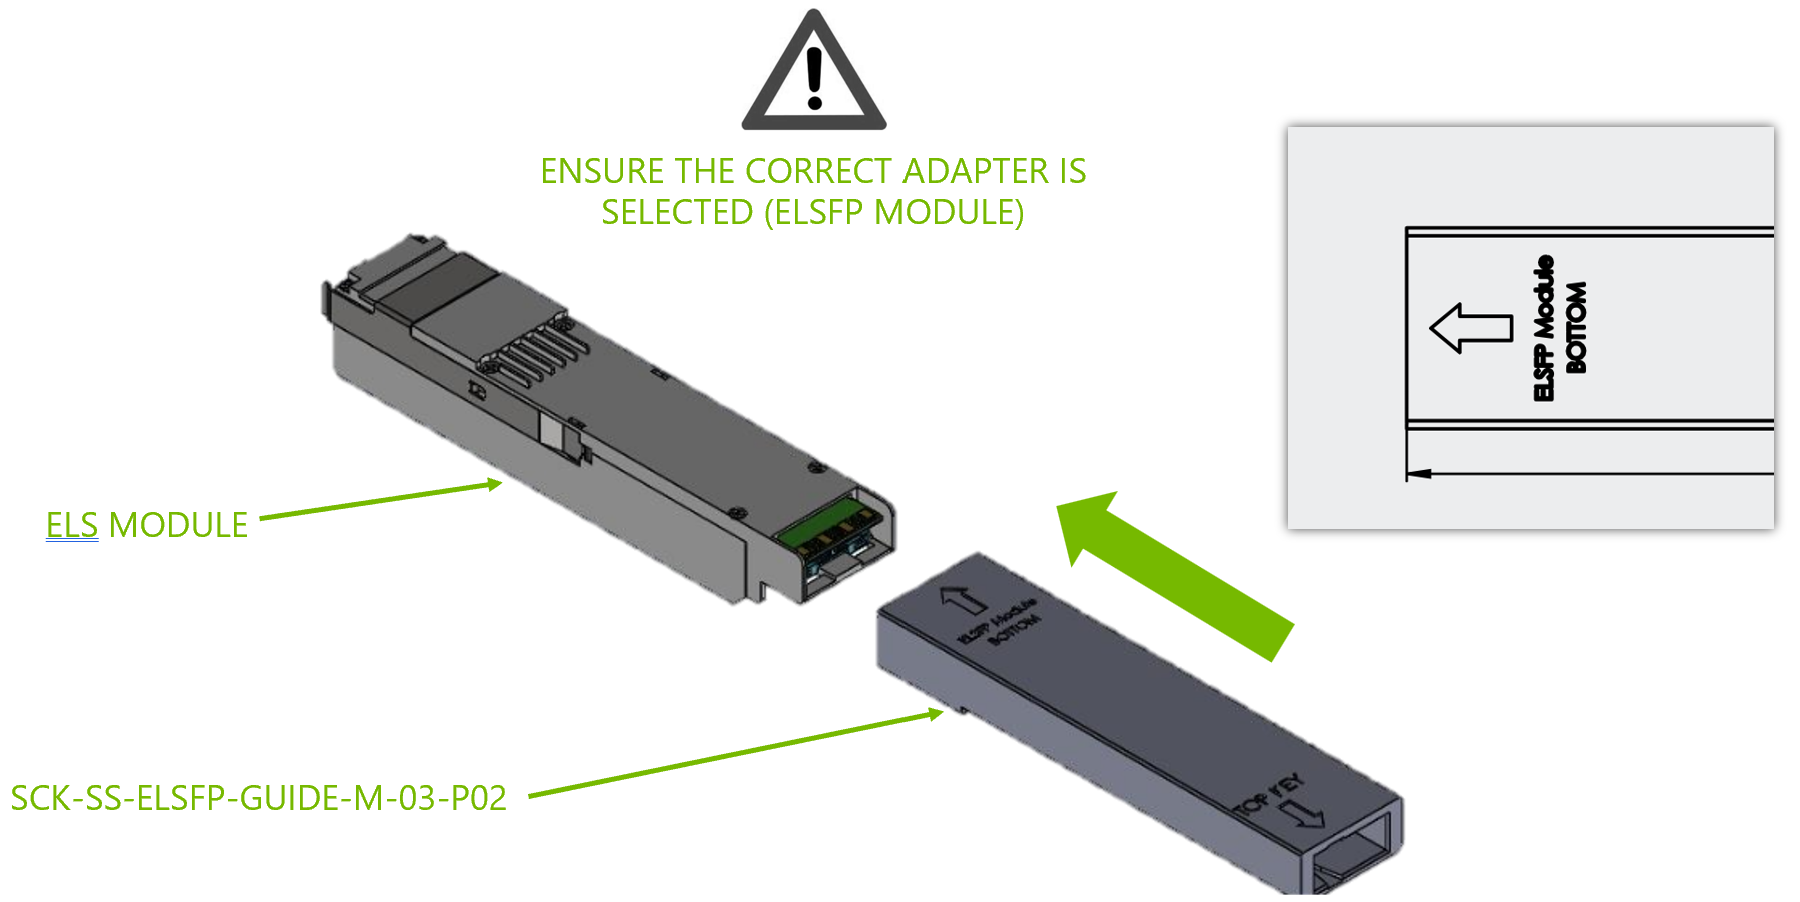
Prepare the ELSFP cleaning adapter (SCK-SS-ELSFP-GUIDE-M-03-P02) and cleaning tool (SCK-SS-ELSFP-03-BODY).

-
Insert the ELSFP adapter (SCK-SS-ELSFP-GUIDE-M-03-P02) into the ELS module.
-
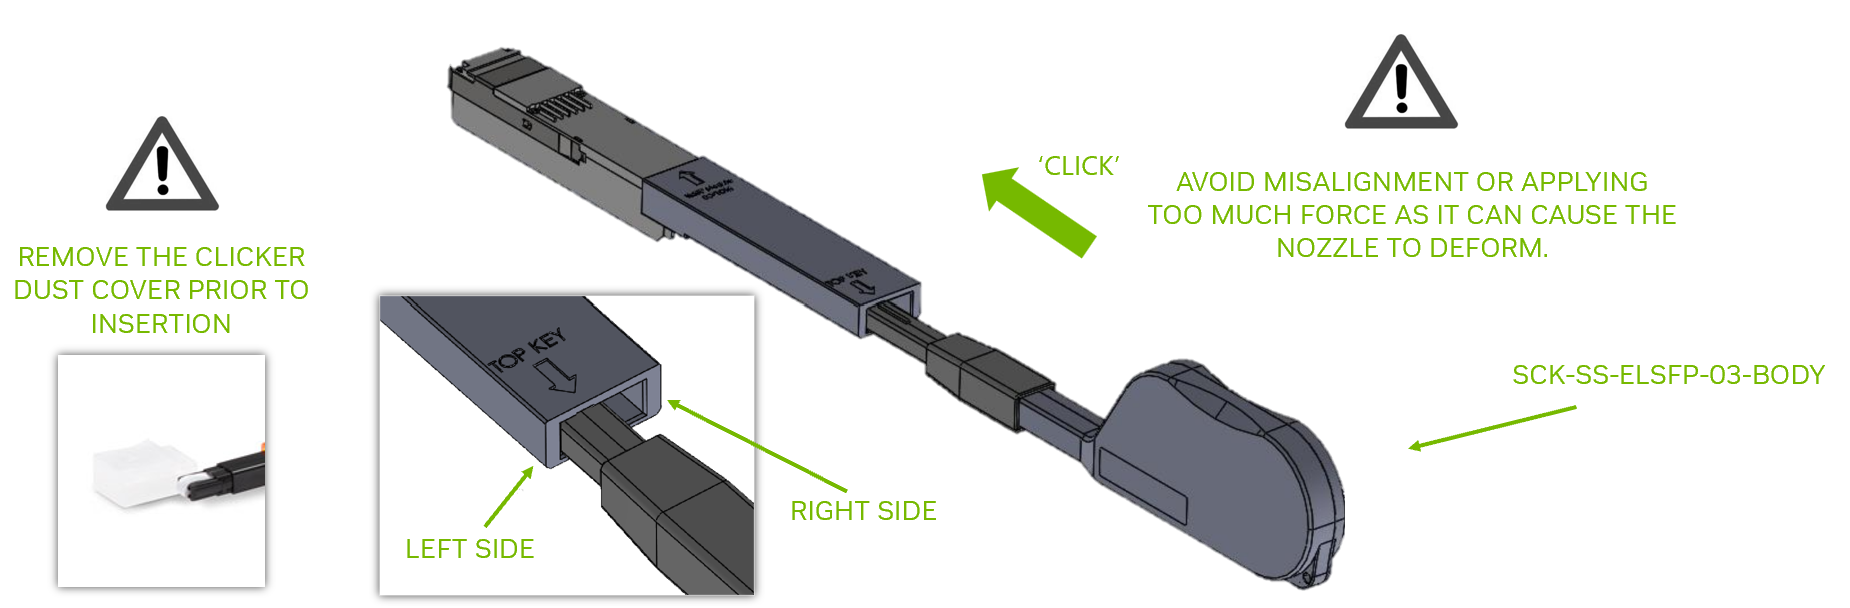
Remove the dust cover from the cleaning tool (clicker, SCK-SS-ELSFP-03-BODY).
-
Insert the cleaning tool (SCK-SS-ELSFP-03-BODY) nozzle using an alignment key.
-
Carefully push the cleaning tool in the direction shown until an audible click is heard. One complete insertion-and-release cycle is sufficient.
-
Remove the cleaning tool and adapter from the ELS module.
ELS Cage Cleaning
-
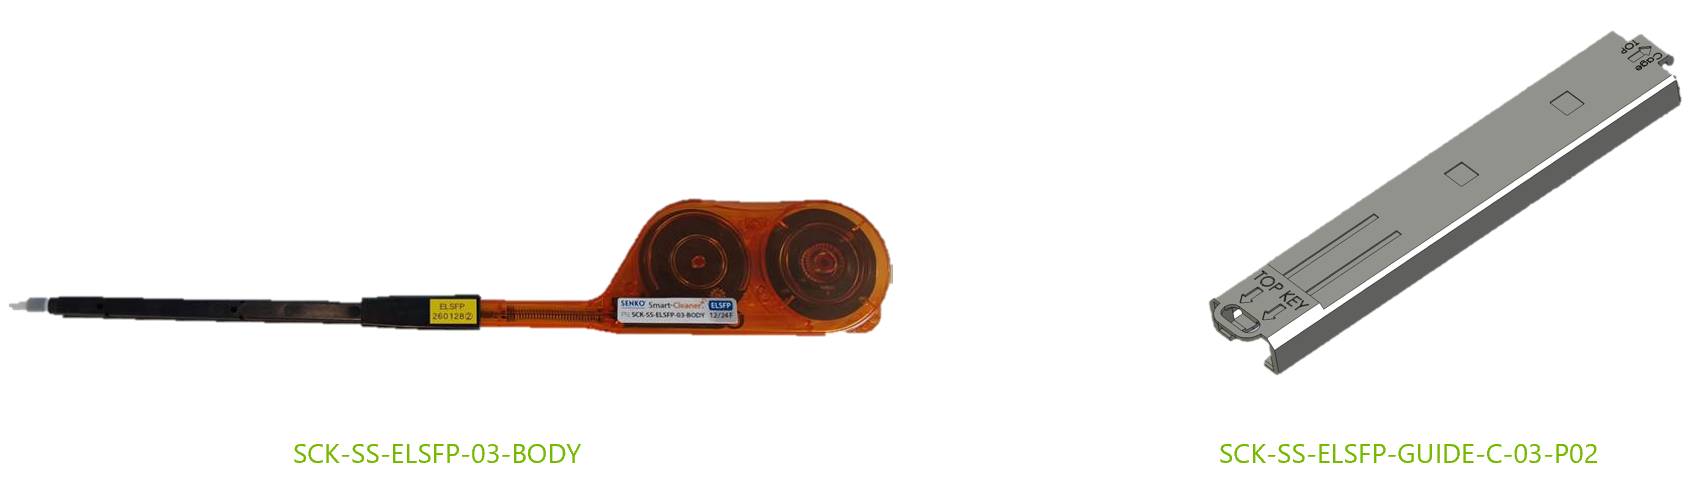
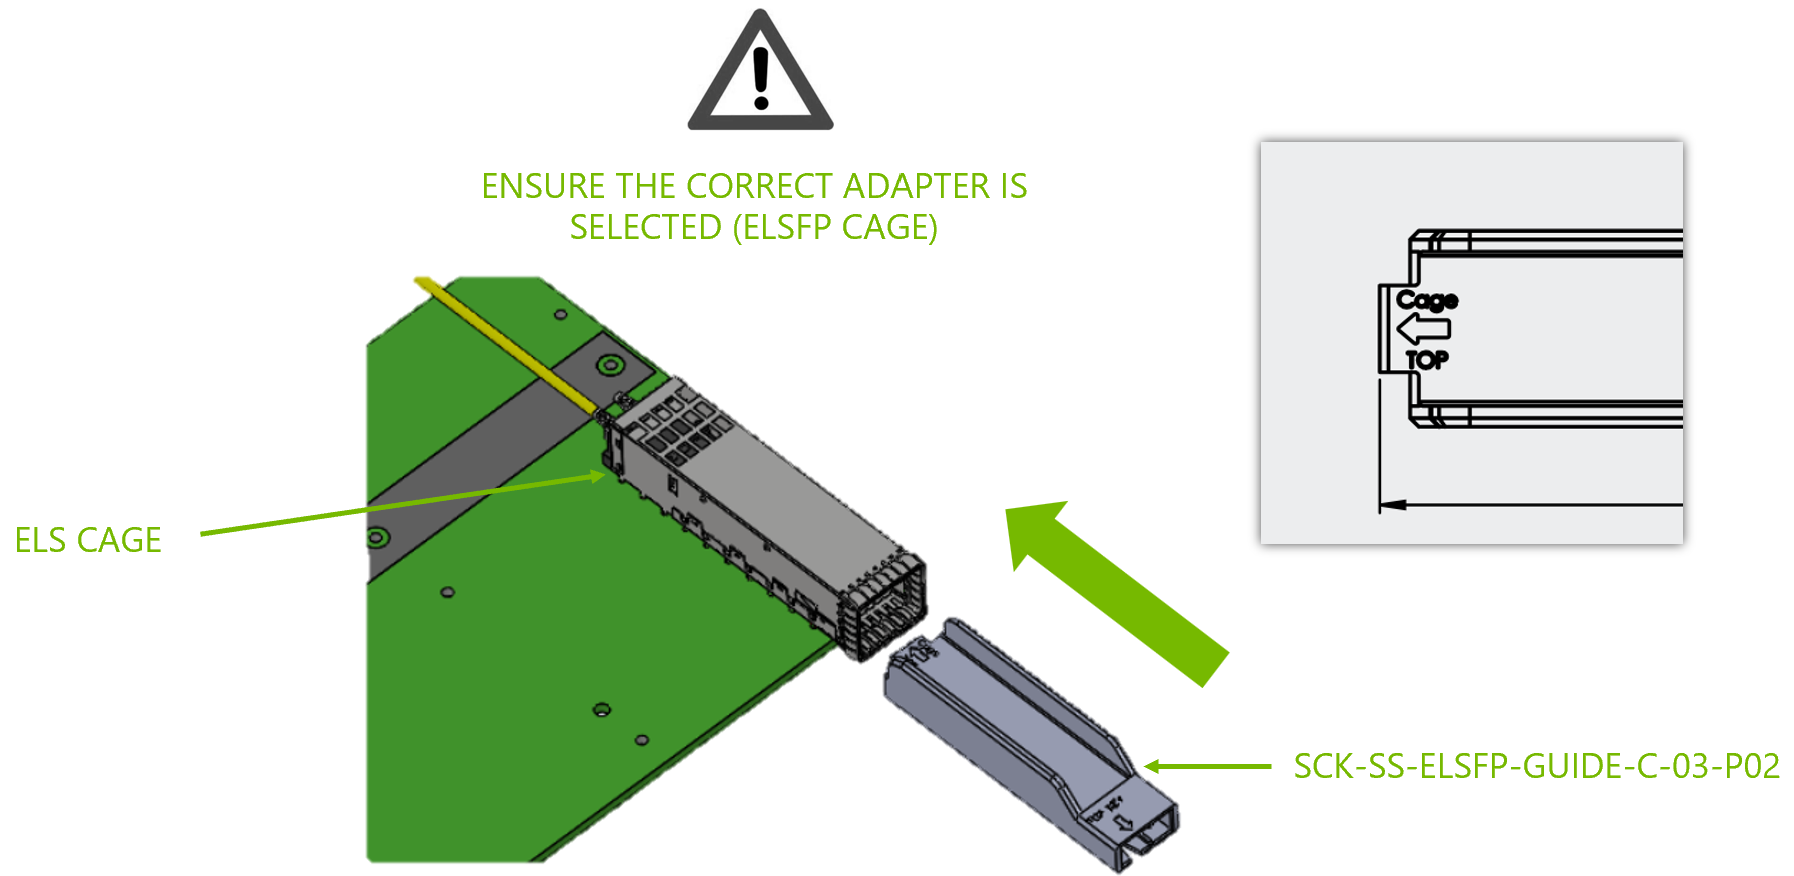
Prepare the ELSFP cage adapter (SCK-SS-ELSFP-GUIDE-C-03-P02) and cleaning tool (SCK-SS-ELSFP-03-BODY).
-
Insert the ELSFP module adapter (SCK-SS-ELSFP-GUIDE-M-03-P02) into the ELS module.
-
Insert the ELSFP cage adapter (SCK-SS-ELSFP-GUIDE-C-03-P02) into the ELS cage.
-
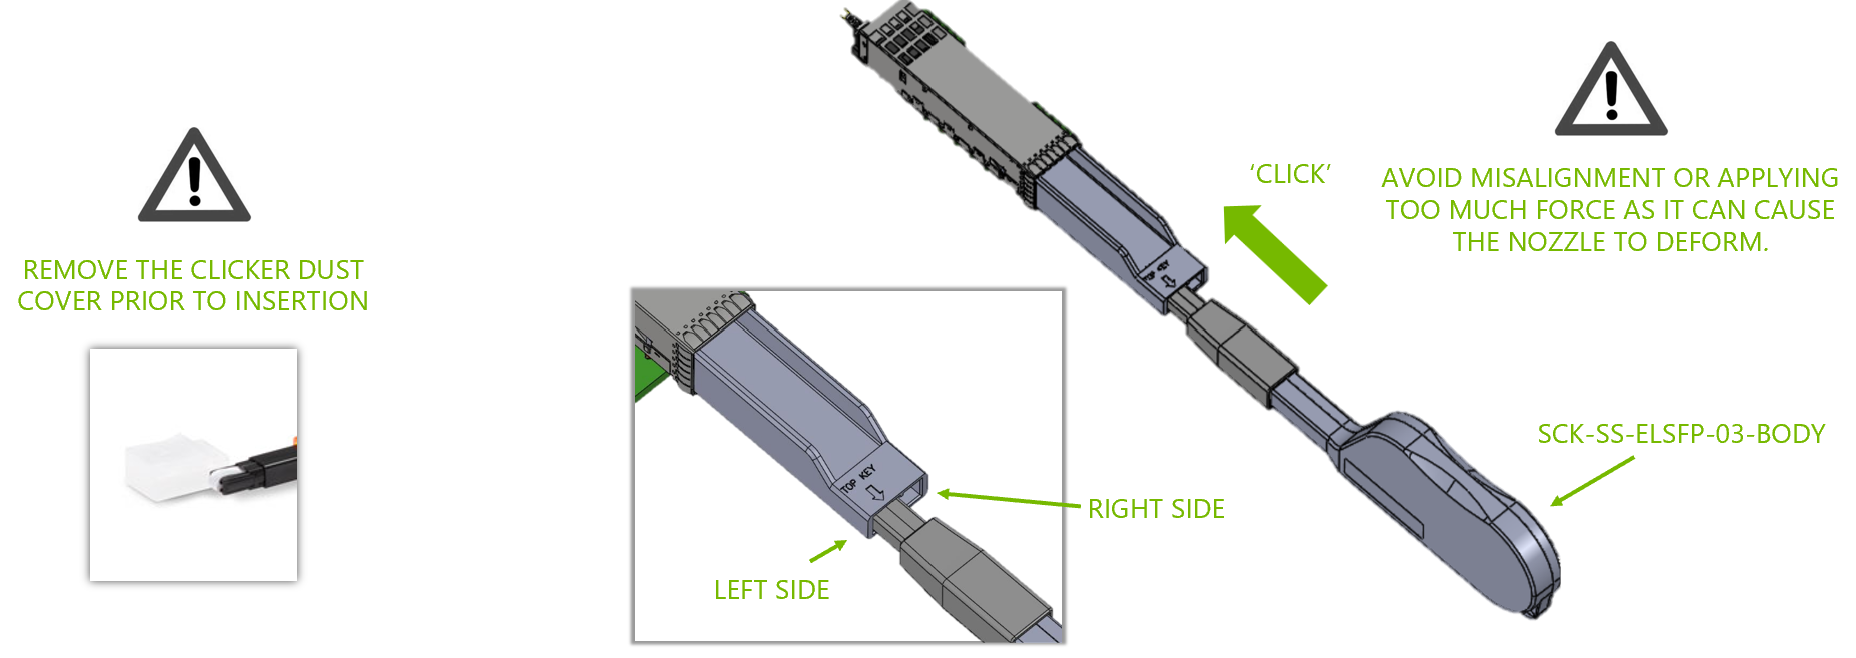
Remove the dust cover from the cleaning tool (clicker, SCK-SS-ELSFP-03-BODY).
-
Insert the cleaning tool (SCK-SS-ELSFP-03-BODY) nozzle using an alignment key.
-
Carefully push the cleaning tool in the direction shown until an audible click is heard. One complete insertion-and-release cycle is sufficient.
-
Remove the cleaning tool and adapter from the ELS module.
-
Reinsert the cleaner to the right side of the adapter as shown in the above illustration, and repeat step 3.
-
Remove the cleaning tool and adapter from the cage.
-
Assemble the dust cover back on the cleaning tool.
New Module Assembly
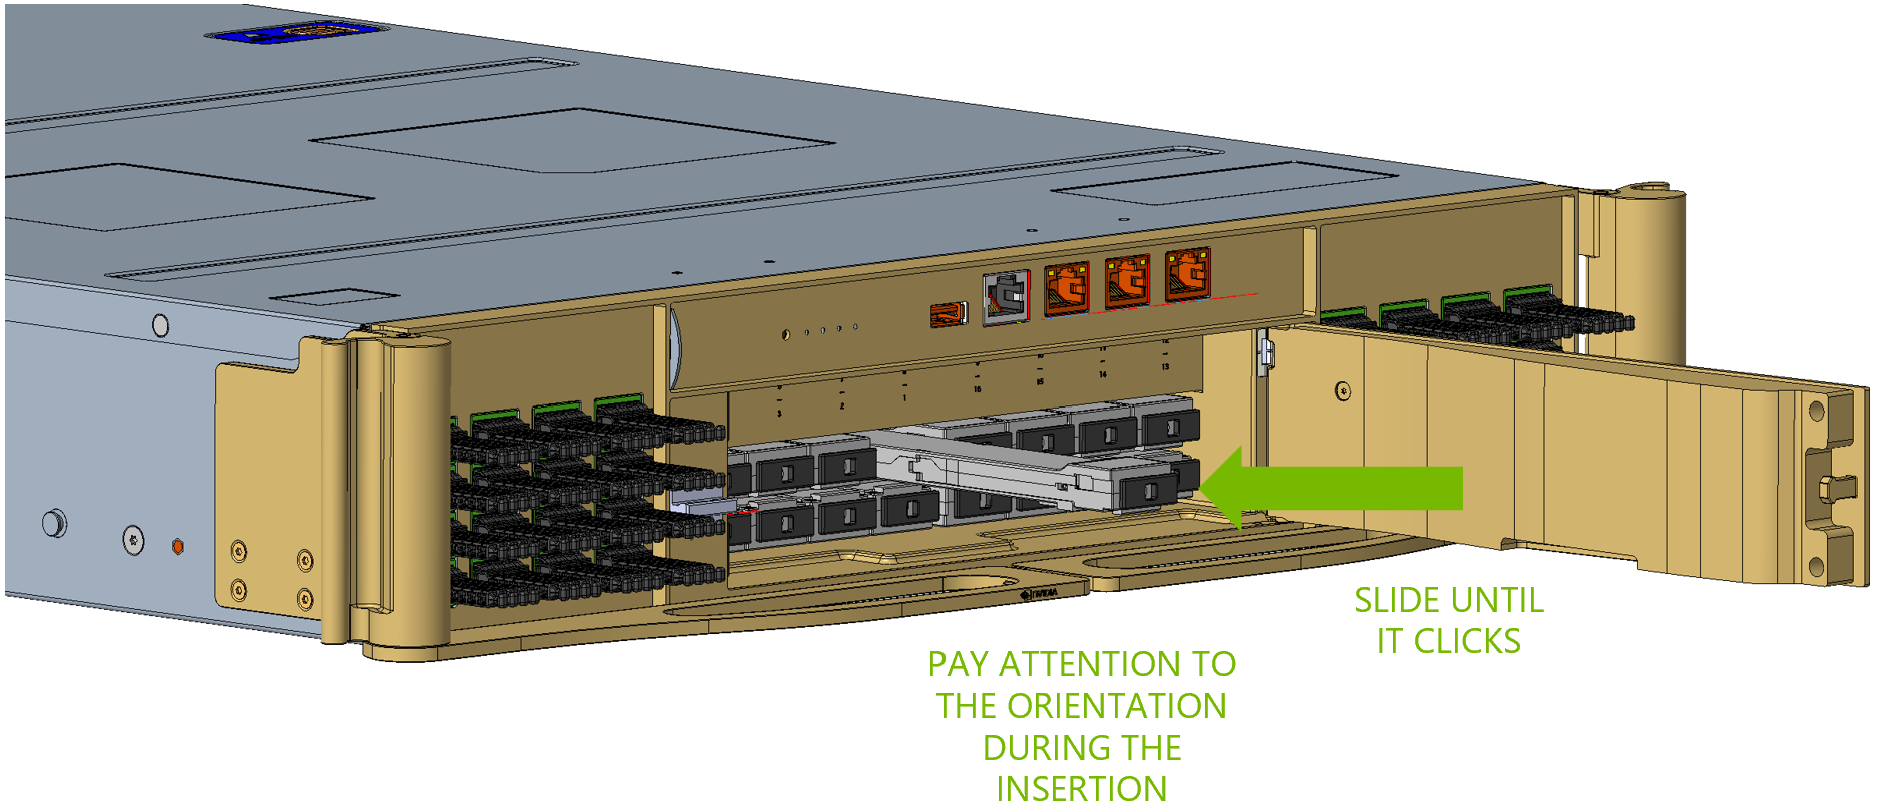
Align and gently slide the new ELS module into its slot until it is fully seated.
Last updated: